Give Your Home a Touch of
Farmhouse Flair!
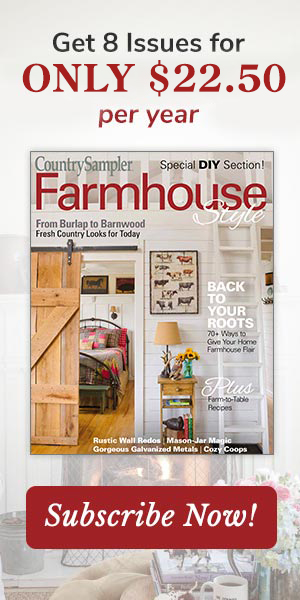
Inside every issue of Farmhouse Style...
- Beautiful home tours to inspire you
- Today's BEST rustic decorating tips
- Easy DIY farmhouse decor ideas
- Budget-friendly upcycling projects
- Hearty recipes, stunning color photos
and more!
For the latest down-home styles,
subscribe to Farmhouse Style magazine today!
Subscribe Now!
100% Money-Back Guarantee
If at any time you're not absolutely delighted with Farmhouse Style, just let us know.
We'll promptly refund every penny you paid. No questions asked.